


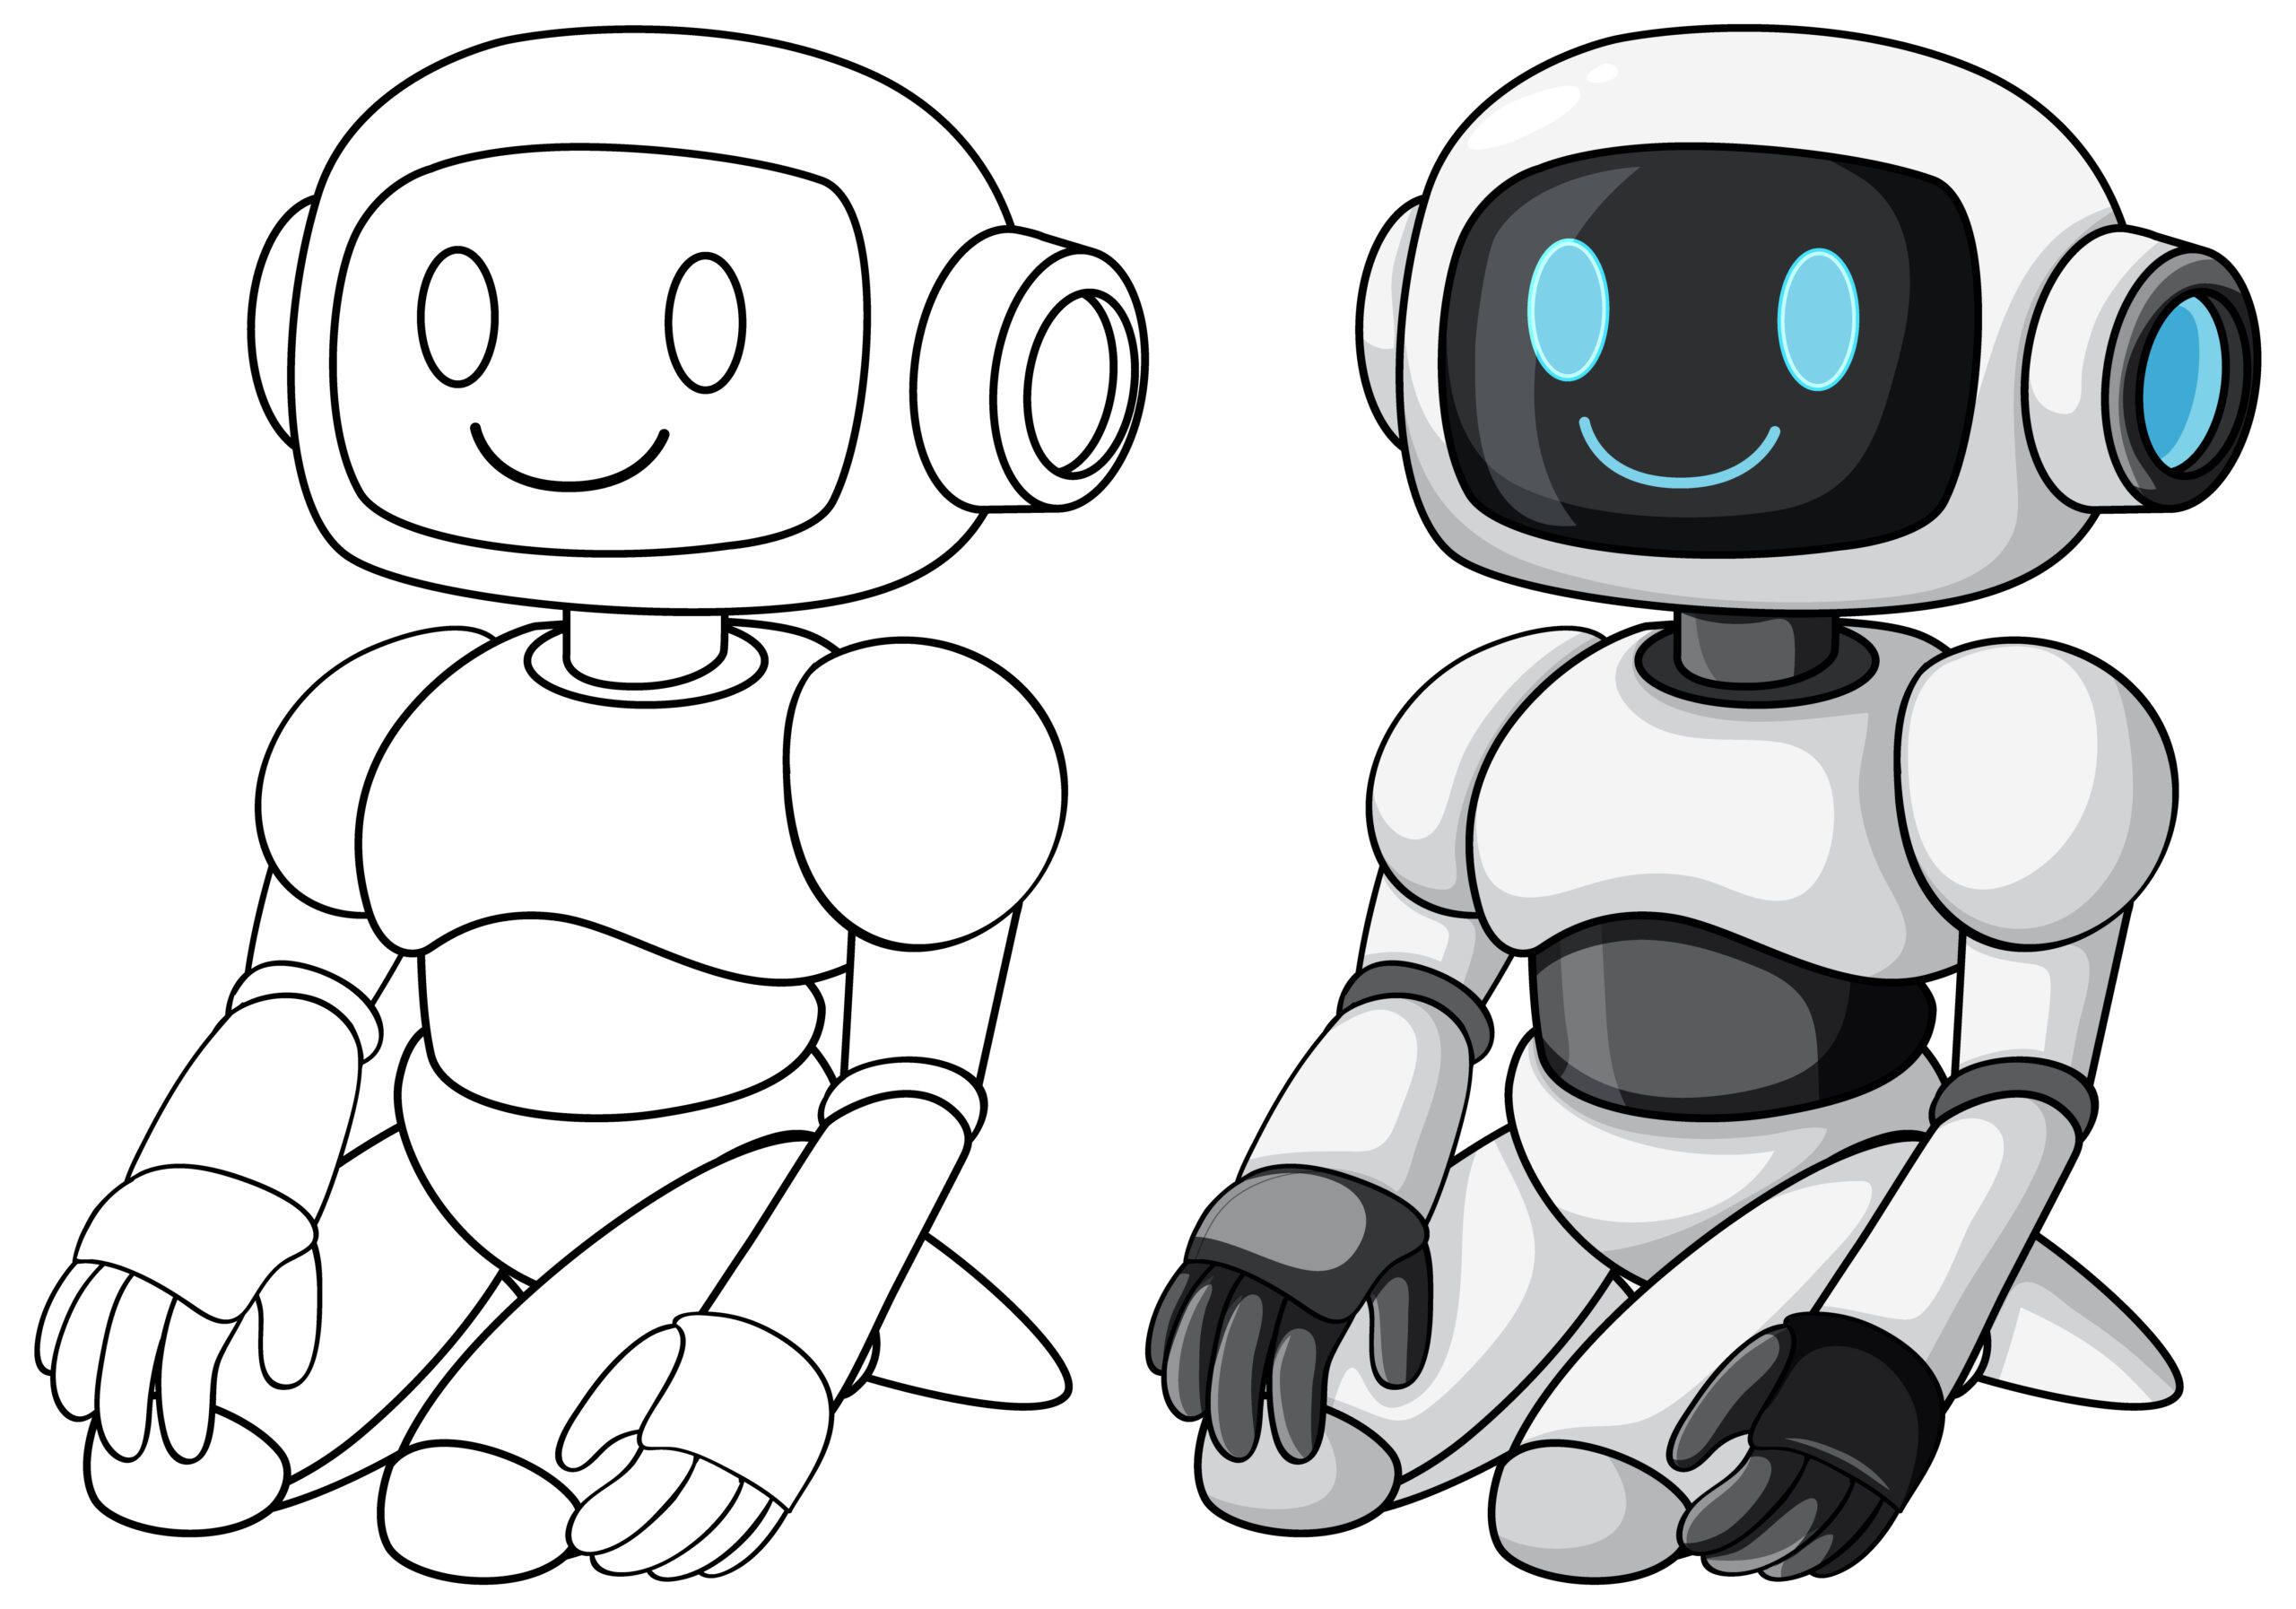
Learn robot drawing with this easy step-by-step tutorial for beginners and kids. Discover robot drawing easy techniques, robot sketch tips, and how to draw a robot with simple shapes.
Robot Drawing: The Complete Beginner’s Guide
Have you ever wanted to create your own robot drawing but didn’t know where to begin? The good news is that drawing a robot is much easier than most people think. Unlike animals or people, robots are built from simple geometric shapes like squares, rectangles, circles, and cylinders. That makes them one of the best subjects for beginners learning to draw.
Whether you’re looking for a robot drawing easy tutorial, searching for drawing robot for kids, or simply wondering how to draw a robot, this guide will walk you through every step. By the end of this tutorial, you’ll understand how professional artists build robot illustrations while also gaining the confidence to design your own unique mechanical characters.
The techniques in this guide work with pencils, markers, colored pencils, digital drawing tablets, and even classroom art projects. No advanced artistic experience is required
Table of Contents
- Why Learn Robot Drawing?
- Materials You’ll Need
- Understanding Basic Robot Shapes
- How to Draw a Robot Step by Step
- Easy Robot Drawing for Kids
- Common Mistakes Beginners Make
Why Learn Robot Drawing?
Robots are one of the easiest subjects for new artists because they don’t need realistic anatomy. Instead of worrying about muscles, facial proportions, or complicated poses, you can focus on combining simple shapes into interesting designs.
Learning robot drawing also helps improve:
- Observation skills
- Shape recognition
- Creativity
- Perspective
- Line control
- Mechanical design thinking
Many professional concept artists recommend drawing robots because they teach structure without requiring perfect human proportions.
Another advantage is that every robot can look different. Some robots appear friendly and cute, while others look futuristic, industrial, or battle-ready. There are no strict rules, allowing your imagination to guide the design
Materials You’ll Need
Before starting your drawing, gather a few simple supplies.
Traditional Drawing
- HB pencil
- 2B pencil for shading
- Eraser
- Sharpener
- Drawing paper
- Black fineliner (optional)
- Colored pencils or markers
Digital Drawing
If you prefer digital art, you can use:
- iPad with Procreate
- Clip Studio Paint
- Adobe Photoshop
- Krita
- Autodesk SketchBook
The drawing process remains nearly identical whether you work on paper or digitally
Understanding Basic Robot Shapes
The secret behind every great robot drawing is understanding that robots are built from simple geometric forms.
Instead of trying to draw complicated machinery immediately, begin by dividing the robot into individual parts.
Head
The head can be:
- Square
- Rectangle
- Circle
- Oval
- Hexagon
Many beginner artists choose a square because it is easier to align with the body.
Body
The body is usually the largest section.
Popular choices include:
- Rectangle
- Rounded rectangle
- Trapezoid
- Large square
This area can later hold buttons, screens, lights, and mechanical panels.
Arms
Robot arms usually consist of:
Upper Arm → Joint → Forearm → Hand
Each section can be made from:
- Cylinders
- Rectangles
- Tubes
- Mechanical rods
Keeping each arm symmetrical makes the drawing cleaner.
Legs
Legs follow the same concept.
They usually contain:
- Hip joint
- Upper leg
- Knee joint
- Lower leg
- Feet
Many beginner artists simply use rectangles connected with circles.
Hands
Hands don’t need five realistic fingers.
Instead, you can draw:
- Claws
- Three fingers
- Pincers
- Grabbing tools
- Mechanical gloves
This keeps the drawing simple while still looking robotic.
Eyes
Eyes give your robot personality.
Popular options include:
- LED circles
- Digital screens
- Camera lenses
- Square displays
- Glowing rectangles
Changing the eyes alone can completely transform the robot’s appearance.

How to Draw a Robot Step by Step
Now let’s create your first robot.
Step 1: Draw the Head
Start with a square.
Keep the lines light since you’ll erase construction marks later.
Don’t worry about perfection.
A slightly imperfect square often gives your robot extra personality.
Step 2: Add the Body
Below the head, draw a larger rectangle.
Leave a small gap between the head and body for the neck.
Your robot should now resemble stacked blocks.
Step 3: Sketch the Neck
Connect the head to the body using:
- Two short lines
- Springs
- Cylinders
- Small mechanical joints
This simple detail instantly makes your drawing look more realistic
Step 4: Draw the Arms
Attach circles to both shoulders.
From each shoulder:
- Draw a rectangle
- Add another circle
- Draw another rectangle
- Finish with simple hands
Don’t worry about tiny mechanical details yet.
Focus on clean proportions first
Step 5: Create the Legs
Use the same process.
Hip circles connect to long rectangles.
Add knee circles before drawing the lower legs.
Finish with wide mechanical feet to help balance the character visually
Step 6: Add the Face
This is where your robot becomes unique.
Draw:
- Two circular eyes
- A small antenna
- Tiny bolts
- Speaker mouth
- Digital smile
Friendly robots often have large eyes and curved mouths.
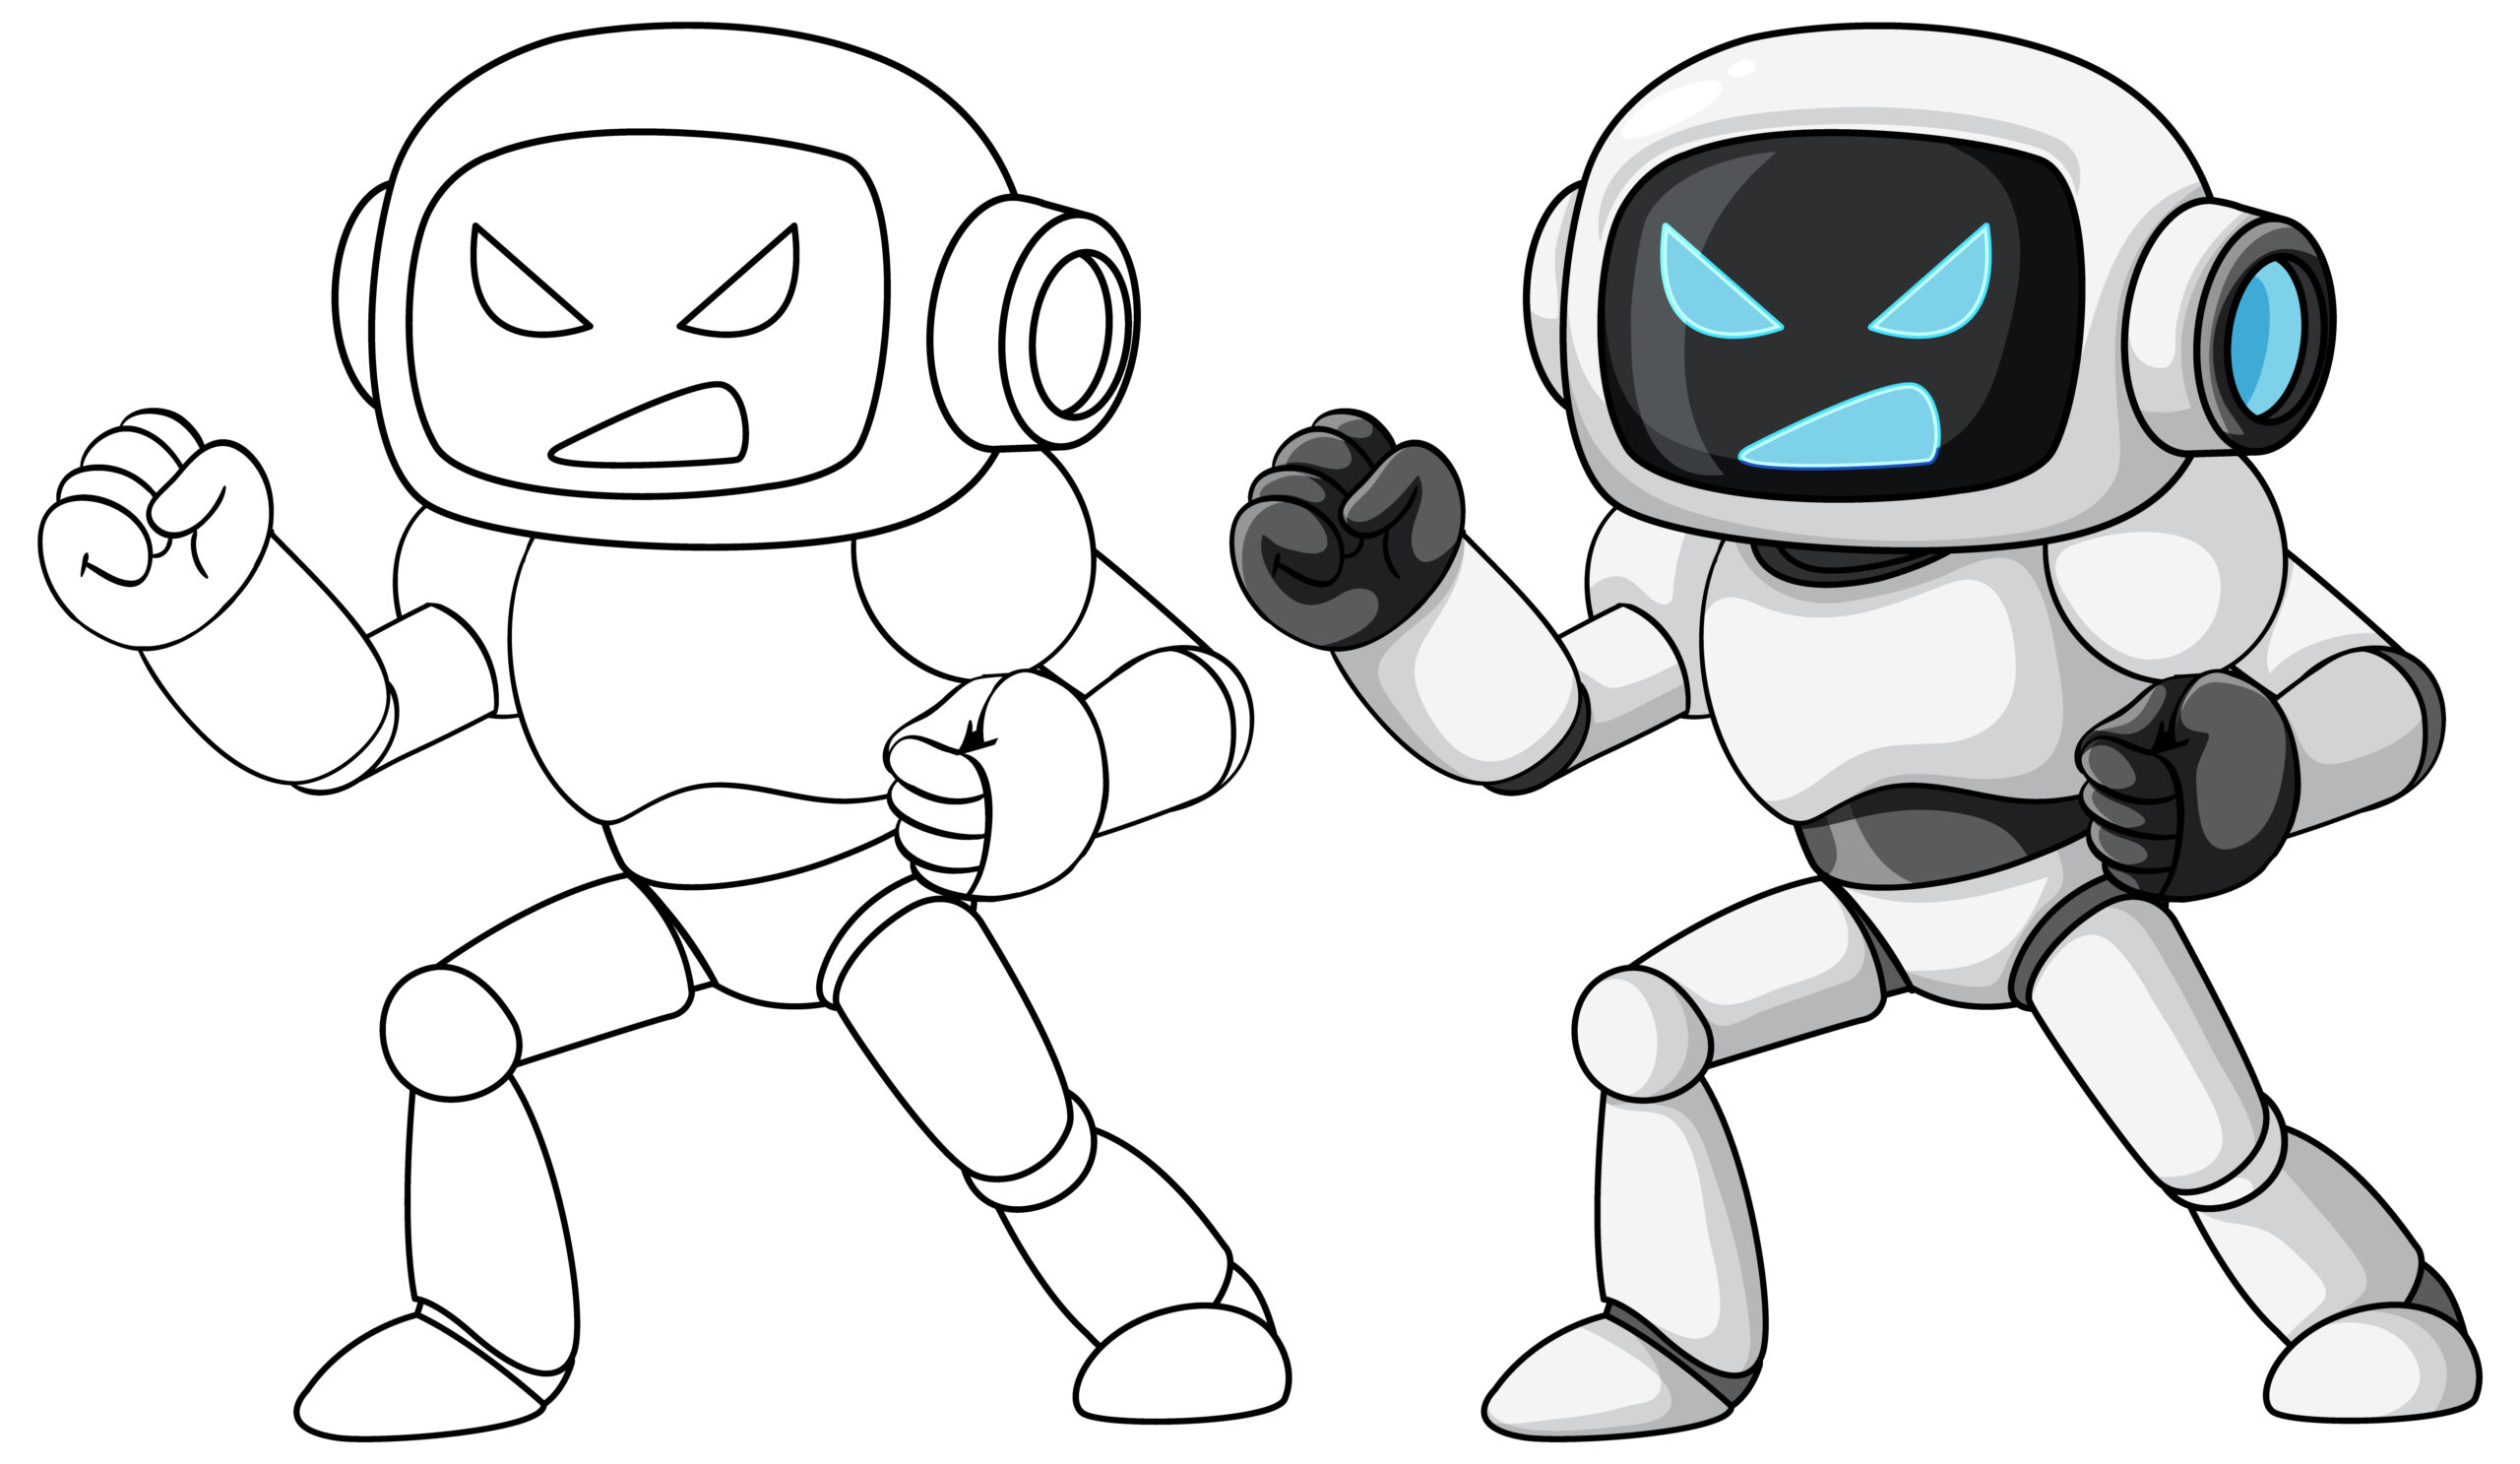
Battle robots usually have narrow eyes and angular features
Step 7: Add Chest Details
Decorate the torso.
Ideas include:
- Control buttons
- Warning lights
- Battery indicator
- Small display screen
- Power core
- Mechanical vents
- Access panels
These details make even a simple drawing appear much more advanced.
Step 8: Draw Mechanical Joints
Now connect the body parts with mechanical pieces.
Examples include:
- Bolts
- Springs
- Pistons
- Gears
- Hinges
- Hydraulic cylinders
Avoid overcrowding every section.
Leave enough empty space so the design stays clean.
Step 9: Add Final Details
Now refine the drawing.
Add:
- Rivets
- Metal seams
- Wires
- Panel lines
- Shoulder plates
- Knee guards
- Small screws
Professional artists often repeat simple details instead of inventing new ones for every section.
Consistency creates believable robot designs
Step 10: Ink Your Drawing
Once satisfied:
- Erase sketch lines.
- Trace the final outline with a black pen or fineliner.
- Allow the ink to dry completely.
- Remove remaining pencil marks.
Now your robot sketch is ready for coloring.
Easy Robot Drawing for Kids
Children often enjoy drawing robots because they can use their imagination without worrying about realism.
Here is an easy method designed for younger artists.
Step 1
Draw a square head.
Step 2
Add two large circles for eyes.
Step 3
Draw a smiling mouth.
Step 4
Add a rectangle body.
Step 5
Attach simple rectangle arms.
Step 6
Draw rectangle legs.
Step 7
Finish with two large boots.
Step 8
Decorate with stars, buttons, antennas, or hearts.
This project is perfect for:
- Elementary classrooms
- Weekend crafts
- Art homework
- Birthday activities
- STEM lessons
Because every child can personalize the robot differently, no two drawings will look exactly the same
Common Mistakes Beginners Make
Even simple robot drawings can go wrong if you overlook a few basics. Avoid these common mistakes to improve your artwork.
1. Starting with Details Too Early
Many beginners jump straight into drawing gears, wires, and buttons before creating the robot’s main shape. This often results in an uneven design. Always sketch the basic outline first, then add details afterward.
2. Uneven Body Proportions
A tiny head with oversized legs—or arms that don’t match—can make the robot look unbalanced. Step back occasionally and compare both sides of your drawing to keep the proportions consistent.
3. Overloading with Small Details
Adding every possible bolt, wire, and panel can make your drawing feel cluttered. Leave some clean spaces so the important features stand out.
4. Forgetting Joint Connections
Robot arms and legs should connect naturally through visible joints or hinges. Floating limbs can make the design look unfinished.
5. Pressing Too Hard with the Pencil
Heavy sketch lines are difficult to erase and can leave unwanted marks. Use light strokes during the planning stage, then darken only the final lines once you’re happy with the design.
Robot Sketch Techniques That Make Your Drawings Look Professional
Once you’ve mastered the basics, it’s time to improve your robot sketch with techniques used by illustrators and concept artists. These simple methods can make even a basic design look polished and believable.
1. Draw with Construction Lines
Professional artists rarely start with dark outlines. Instead, they begin with light construction lines to map out the robot’s proportions and pose. These guidelines make it easier to adjust the design before adding details.
2. Add Depth with Perspective
A robot viewed from an angle looks more dynamic than one drawn straight on. Practice sketching cubes and cylinders in perspective, then use those shapes to build your robot. This technique gives your artwork a three-dimensional appearance.
3. Use Line Weight
Not every outline should have the same thickness. Slightly thicker lines around the outer edges and thinner lines for inner details help your drawing stand out and create a sense of depth.
4. Include Functional Details
Instead of adding random decorations, think about how the robot works. Consider drawing:
- Cooling vents
- Camera lenses
- Hydraulic pistons
- Battery compartments
- Hinges
- Armor plates
- Control panels
Functional details make your design feel more realistic.
5. Practice Different Poses
Once you’re comfortable with a standing robot, experiment with new poses:
- Walking
- Running
- Flying
- Waving
- Holding tools
- Jumping
Drawing robots in action improves both creativity and confidence
Cool Robot Drawings to Inspire Your Creativity
One of the best ways to improve is by trying different robot styles. Every design teaches something new about shapes, proportions, and mechanical details.
Friendly Helper Robot
This robot features large eyes, rounded corners, and a cheerful expression. It’s perfect for children’s books, educational games, or beginner artists.
Best Features
- Rounded body
- Smiling digital face
- Short arms
- Bright colors
Battle Robot
Battle robots are inspired by science fiction and action games. They usually include armor, heavy limbs, and mechanical weapons.
Ideas include:
- Shoulder cannons
- Energy shields
- Reinforced legs
- Large mechanical hands
- Heavy chest armor
Dinosaur Robot
A dinosaur robot combines prehistoric creatures with futuristic technology. Draw a robotic T-Rex, raptor, or triceratops using metal plates and mechanical joints
Space Exploration Robot
Design a robot built for exploring planets. Add antennas, cameras, solar panels, and scientific tools to create a futuristic explorer
Cute Cartoon Robot
Cartoon robots use simple shapes with oversized heads and expressive faces. They are excellent for beginners and younger artists because they don’t require complex details
Vintage Robot
Retro robots are inspired by classic science-fiction movies. They often feature:
- Box-shaped bodies
- Rivets
- Spring arms
- Dome-shaped heads
- Wind-up keys
This nostalgic style is fun and easy to draw.
How to Color Your Robot Drawing
Color can completely change the mood of your artwork. Even a simple sketch becomes more eye-catching with the right color choices.
Traditional Coloring
Use colored pencils, crayons, or markers to fill your drawing. Start with lighter shades and gradually build darker tones for shadows.
Popular robot colors include:
- Silver
- Gray
- Blue
- Red
- White
- Black
- Yellow
Adding small highlights with a white gel pen can make the metal surfaces appear shiny.
Digital Coloring
If you’re working digitally, create separate layers for:
- Base colors
- Shadows
- Highlights
- Glow effects
- Background
Layering keeps your artwork organized and allows for easy adjustments
Add Metallic Effects
To make your robot look like it’s made of metal:
- Shade one side darker.
- Leave bright highlights on edges.
- Blend smooth transitions.
- Add subtle reflections.
These simple techniques give the illusion of polished steel or aluminum
Digital Robot Drawing Tips
Digital art software offers many tools that make robot illustration easier.
Use Symmetry
Many robots are symmetrical. A symmetry tool automatically mirrors your strokes, helping you create balanced designs faster.
Work in Layers
Separate the sketch, outlines, colors, and effects onto different layers. This allows you to edit individual parts without affecting the entire drawing.
Use Reference Images
Looking at real machines, industrial equipment, and electronics can inspire believable robot designs. Reference images help you understand how mechanical parts connect.
Zoom In for Details
Small screws, vents, and wires are easier to draw accurately when zoomed in. After finishing the details, zoom back out to make sure the overall design still looks balanced
Practice Exercises to Improve Your Robot Drawing Skills
Like any creative skill, drawing improves with regular practice. Try these exercises to build confidence.
Draw One Robot Every Day
Create a new robot using only simple shapes. Change the head, arms, or legs each time to explore different designs.
Redesign Household Objects
Imagine everyday items as robots. Turn a toaster, coffee maker, or vacuum cleaner into a friendly mechanical character.
Time Yourself
Set a timer for 10 or 15 minutes and sketch a complete robot before time runs out. This helps you focus on the main shapes instead of overthinking details.
Create a Robot Collection
Design a series of robots with different jobs, such as:
- Chef robot
- Construction robot
- Medical robot
- Farming robot
- Delivery robot
- Space robot
Building a collection encourages creativity and develops your personal drawing style.
Frequently Asked Questions
Is robot drawing good for beginners?
Yes. Since robots are built from basic geometric shapes, they are one of the easiest subjects for new artists to learn.
What shapes should I use first?
Start with squares, rectangles, circles, and cylinders. These simple forms create a strong foundation for almost any robot design.
How long does it take to learn robot drawing?
Most beginners can complete a simple robot in less than 30 minutes after practicing the basic steps a few times. More advanced designs improve with consistent practice.
Can children learn robot drawing?
Absolutely. Simple robot drawings are ideal for kids because they encourage creativity while teaching shape recognition and hand-eye coordination.
Which pencils are best for sketching?
An HB pencil is great for initial sketches, while a 2B pencil works well for darker outlines and shading.
Should I learn traditional or digital drawing first?
Either option works. Learning the basic principles of shape, proportion, and perspective is more important than the tools you use.
Conclusion
Learning robot drawing is an enjoyable way to develop artistic skills while exploring creativity. Because robots are made from simple geometric shapes, beginners can quickly build confidence without worrying about realistic anatomy.
By following the step-by-step techniques in this guide, practicing regularly, and experimenting with different robot styles, you’ll soon be able to create everything from cute cartoon characters to detailed futuristic machines. Whether you’re sketching with pencil and paper or using digital art software, every drawing helps improve your observation, design, and illustration skills.
The most important tip is to keep practicing. Start with simple designs, learn from each sketch, and gradually add more details as your confidence grows. Before long, you’ll have a collection of unique robot drawings that showcase your own creative style.

1 Comment
Pingback: Humanoid Robot: How Next-Generation Robots Are Transforming the Future of Technology - techvistamag.com